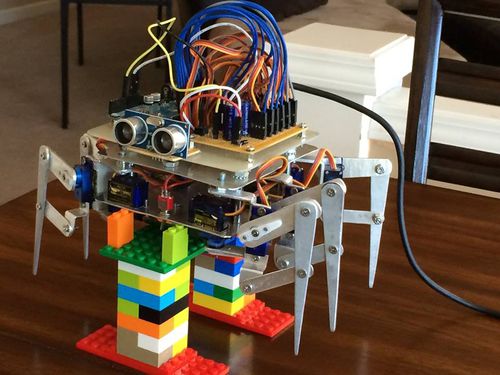
Difference between revisions of "Robotics Hexapod Kit"
(→General Specs) |
|||
| Line 28: | Line 28: | ||
== BOM - Bill Of Materials == | == BOM - Bill Of Materials == | ||
| + | <table border=1 cellpadding=7 cellspacing=0 > | ||
| + | <tr> | ||
| + | <td>'''Electronic'''</td><td>'''Mechanical'''</td> | ||
| + | <tr> | ||
| + | <td> | ||
* Arduino Board | * Arduino Board | ||
* [http://wiki.themakerstation.com/File:Ultrasonic_Sensor.jpg Ultrasonic Sensor qty: 1] | * [http://wiki.themakerstation.com/File:Ultrasonic_Sensor.jpg Ultrasonic Sensor qty: 1] | ||
| Line 40: | Line 45: | ||
* LED | * LED | ||
* Switch | * Switch | ||
| + | </td> | ||
| − | + | <td> | |
* Plate Bottom LxWxH | * Plate Bottom LxWxH | ||
** Aluminum or plastics options | ** Aluminum or plastics options | ||
| Line 52: | Line 58: | ||
* Stand offs | * Stand offs | ||
* Screws | * Screws | ||
| + | </tr> | ||
| + | </table> | ||
| + | |||
| + | |||
==Fabrication and Assembly == | ==Fabrication and Assembly == | ||
Revision as of 18:54, 27 March 2016
Contents
General Specs
Link to Kit Development Meeting Notes: 2016_Hexabot_Build_Meeting_Notes
Size
|
Power
|
Controls
|
Sensors
|
BOM - Bill Of Materials
| Electronic | Mechanical |
|
|
Fabrication and Assembly
Arduino and Controls
About the board and code
Legs
Info about how to fabricate or 3D print the legs
Mounting Brackets for Servos
Info about how to fabricate or 3D print the brackets
